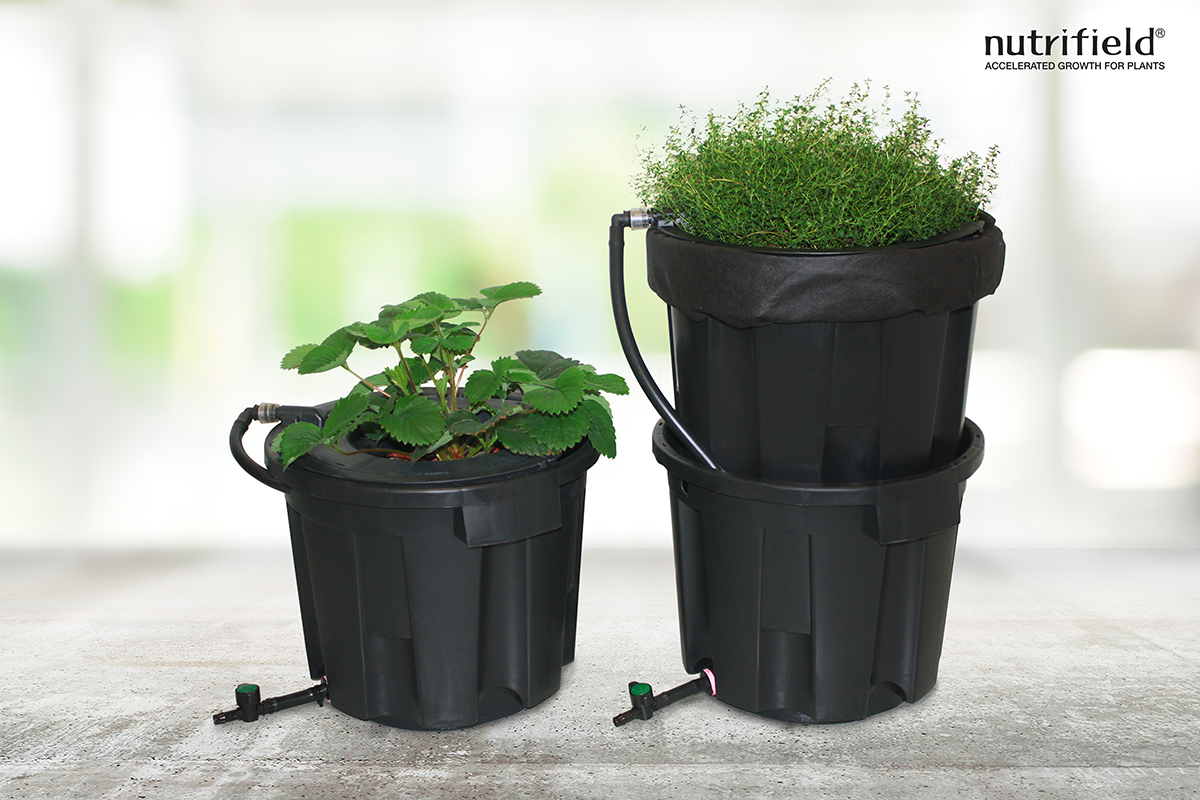
Nutrifield (NF) Pro Pots are a versatile potting system, suitable for both large and small growing set ups. Most people are probably familiar with NF pots daisy-chained together and linked to a large reservoir; however, when doing R&D we often like to use NF pots as stand-alone hydroponic systems. In this set-up, each pot has its own reservoir, which can be given a different product or formulation for testing. This makes it very easy for us to do large experiments with many replicates in a smaller amount of space.
Follow these steps to set up your own single-pot recirculating hydroponic system:
There are a few variations to this design – this is one that we commonly use because it is versatile and easy to dump and replenish many pots quickly.

1) Collect all the components and tools shown in the photo.
- 1 x Nutrifield Pro Pot 27L Bucket
- 1 x Nutrifield Pro Pot 27L Grated Pot
- 1 x Nutrifield Pro Pot 27L Pot Stand (optional)
- 1 x Nutrifield Feeder Ring (horseshoe pictured)
- 1 x Nutrifield Mesh Pot (200mm pictured)
- 1 x 13mm Tub Outlet Barbed
- 1 x 13mm Inline Valve
- 1 x 19mm – 13mm Reducing Elbow
- 1 x 13 mm Elbow ½” BSPT (Threaded/Barbed)
- 1 x length of 19mm Vinyl Tubing
- 2 x length of 13 mm Vinyl Tubing
- 1 x length of 4mm Vinyl Tubing
- 3 x Zip ties
- 1 x Air Stone (Blue Carded 2” / 50mm pictured)
- 1 x Electric Powered Drill
- 1 x 5mm – 35mm Step drill bit
- 1 x Submersible Pump
- 1 x Air Pump
- 1 x Pipe cutter
- 1 x Plumbers’ tape (Teflon tape)
- 1 x Wire cutter

2) Using the step drill bit, drill a hole in bottom of the 27L Bucket and attach a 13mm Tub Outlet Barbed. Use plumbers’ tape on the thread of the tub outlet.
- There are marks on the bucket to guide the location of the hole.
- Drill hole to 33mm (second largest step on drill bit).
3) Attach a 13mm valve with a short piece of 13mm vinyl tubing (~10cm long). Zip tie all pipe connections.
Variation: We use a tub outlet and a valve in the horizontal position so the pots can sit flat on trays. If using the NF pot stand, the tub outlet may be substituted for an elbow with a gromet so that the valve is in a vertical position pointing down. Note: the size of the hole will vary depending on the size of the elbow.
Helpful Tip #1: All tub outlets and pipe connections seal very tightly. However, even a small leak would confound experiment results and delay progress, so we use plumbers’ tape and zip ties on all connections within an experiment just to be safe.
Helpful Tip #2: A full 27L pot with wet coco and a mature plant can be very cumbersome and heavy to lift when draining the reservoir, and the plant can get damaged in doing so. A valve for drainage in the reservoir pot makes this process much easier. We place them on trays which run to a drain, but pipes could also be attached and run to a drain if required.
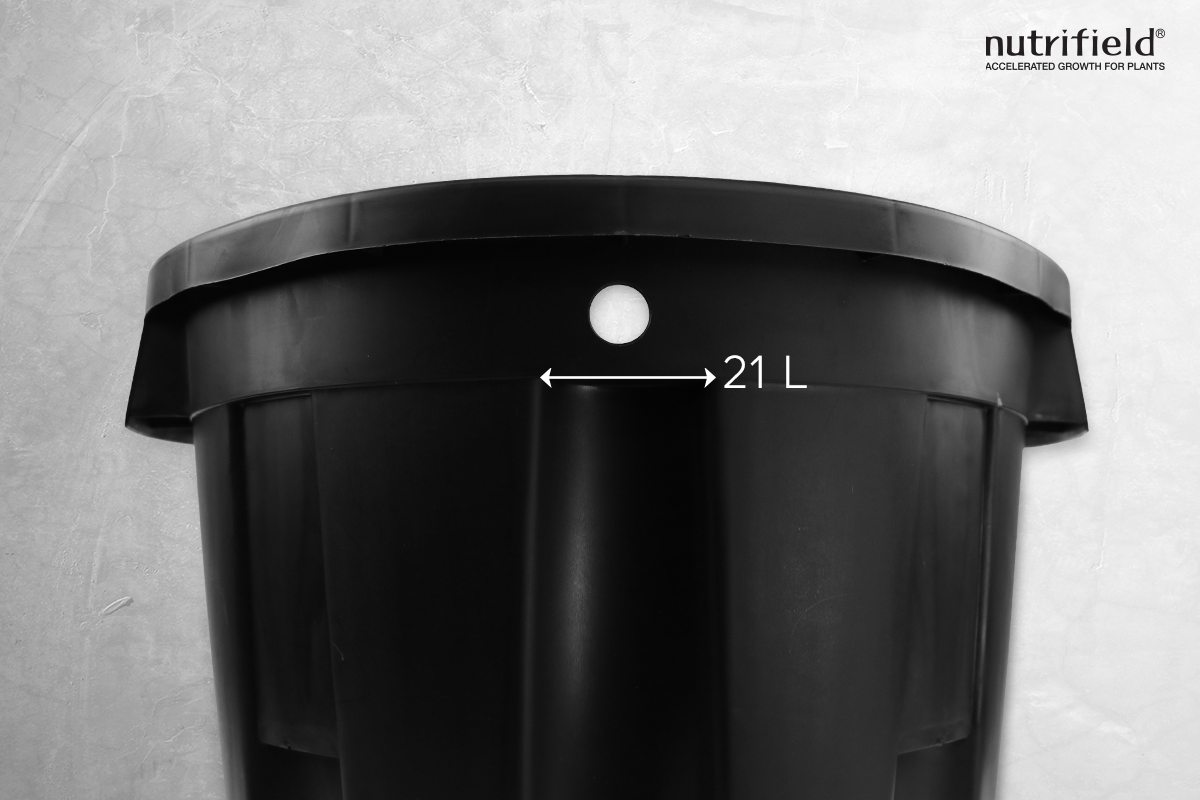
4) Using the step drill, drill a 13mm hole into the neck of the 27L bucket – We like to do this directly above the drainage valve.
Helpful Tip #3: This hole is useful for both variations of the set up described herein. When using only the 27L Bucket, this hole is essential to allow the system to recirculate with the feeding ring in place. When using the two-pot system (with the grated pot) this hole can be used as an overflow point, to facilitate fast refill and reproducible volume. Note: the pot volume filled to the line below the hole is 21L.
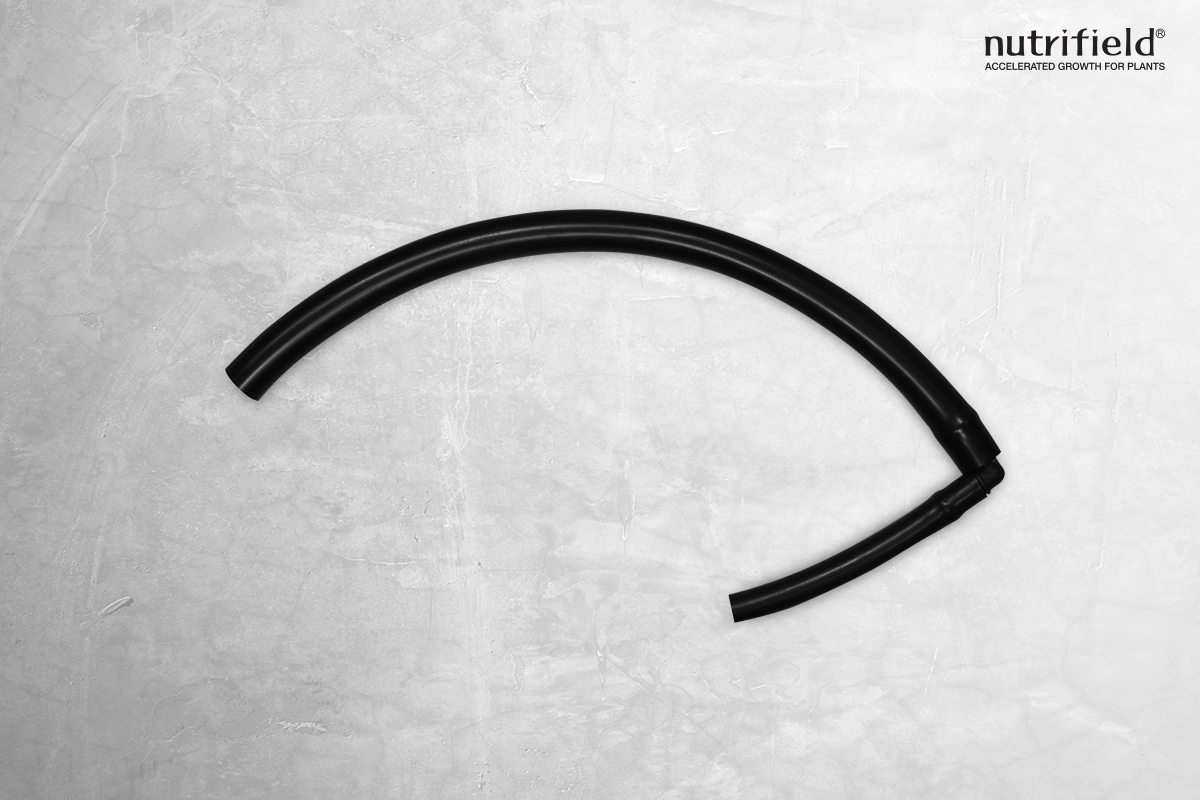
5) Attach a short length of 19mm Vinyl Tubing to a longer length of 13mm Vinyl Tubing, using the 19mm – 13mm Reducing Elbow. Note: the tubing diameter sizes may vary depending on pump attachments. If using a pump with 13mm attachment this can be a single length of 13mm tubing.
Helpful Tip #4: The elbow prevents the tube from kinking. If using a single length of tubing, an elbow can still be used to prevent kinking.
Continue with steps 6a – 12a for a basic Deep-Water Culture (DWC) set up with Nutrifield 27L Bucket only (no grated pot). Jump to steps 6b – 12b for a set up with a grated pot.

6a) Thread the 13mm tube through the hole in the neck of the 27L Bucket and attach it to the feeder ring using the 13 mm Elbow ½” BSPT (Threaded/Barbed).
7a) Attach the other end of the pipe (the 19mm pipe) to the pump inside the 27L Bucket.
8a) Attach the air stone to the 4mm Vinyl Tubing and place into the 27L Bucket. Attach the other end of the 4mm Vinyl Tubing tube to the air pump.
9a) Click feeder ring into place using the guide holes in the rim of the pot.
10a) Insert the mesh basket into the feeder ring.
11a) Fill pot with nutrients, and turn on pump and air-stone.
12a) Secure plant in mesh basket (we like to use Nutrifield Hydro Clay) and place on NF pot stand if desired.
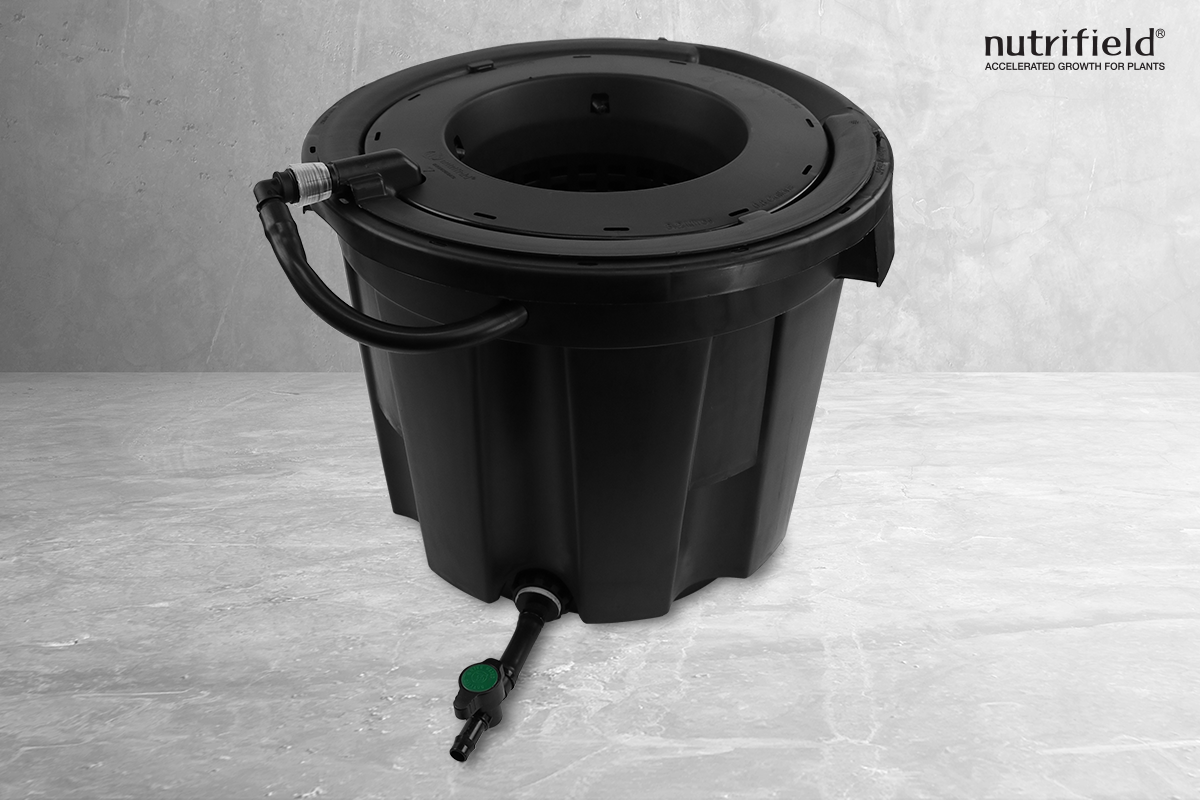
The following is a variation of steps 6-12 for a set up with a grated pot. This set up with a grated pot is useful when using a solid substrate such as coco. Both set up’s may be done with or without the pot stand.
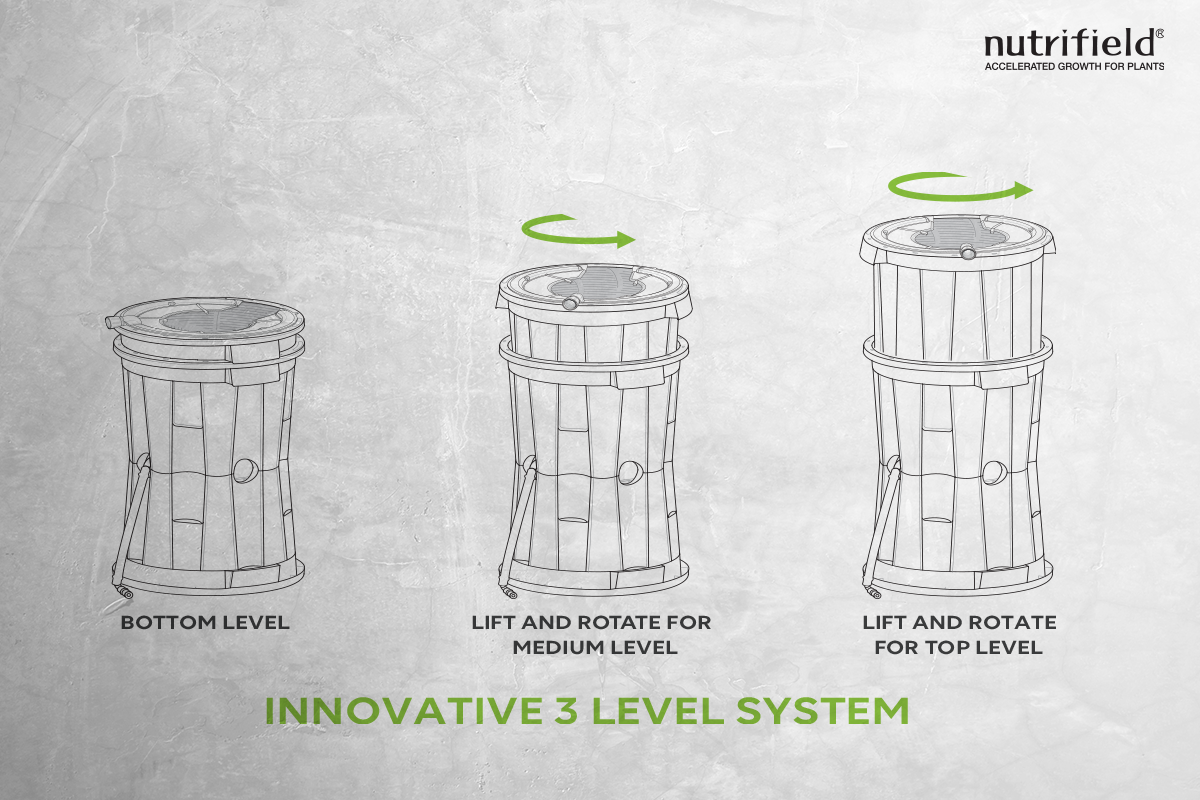
6b) Attach the 13mm pipe to the feeder ring using the 13mm threaded/barbed elbow.
7b) Attached the other end of the pipe to the pump inside the solid base pot.
Helpful Tip #5: Measure the length of the feeding pipe so that it will still fit (reach the bottom of the NF bucket) when the grated pot is at the tallest position within the bucket. This gives the freedom to adjust the height of the grated pot without having the change the piping. Any extra length of pipe, while the grated pot is at a lower position, can be coiled in the bottom of the bucket.
8b) Attach the air stone to the 4mm vinyl tubing and place into the 27L bucket. Attach the other end of the 4mm vinyl tubing to the air pump.
9b) Place the grated pot inside the solid based pot at the desired height. Make sure the pump and air stone pipes are not being squashed in between the two pots.
10b) Lock feeder ring into place using the guide holes in the rim of the 27L bucket.
11b) Insert the mesh basket into the feeder ring.
12b) Fill pot with nutrients, and turn on pump and air-stone.
13b) Secure plant in mesh basket (we like to use Nutrifield Hydro Clay) and place on NF pot stand if desired.
